
Last updated September 20, 2026
Full 25-point door and opener safety check with every visit - springs, cables, rollers, tracks, and your LiftMaster or Chamberlain opener included
You get a price before we start. It does not change when the truck arrives.
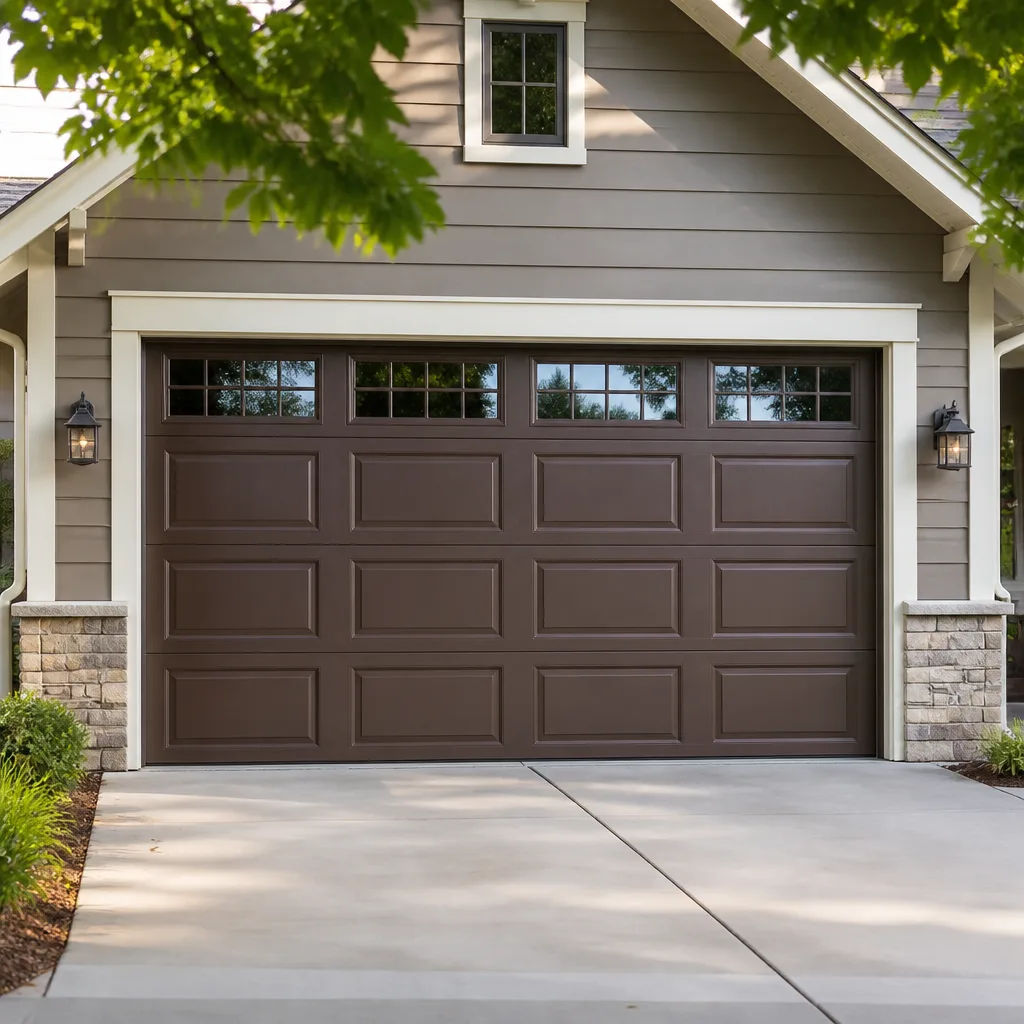
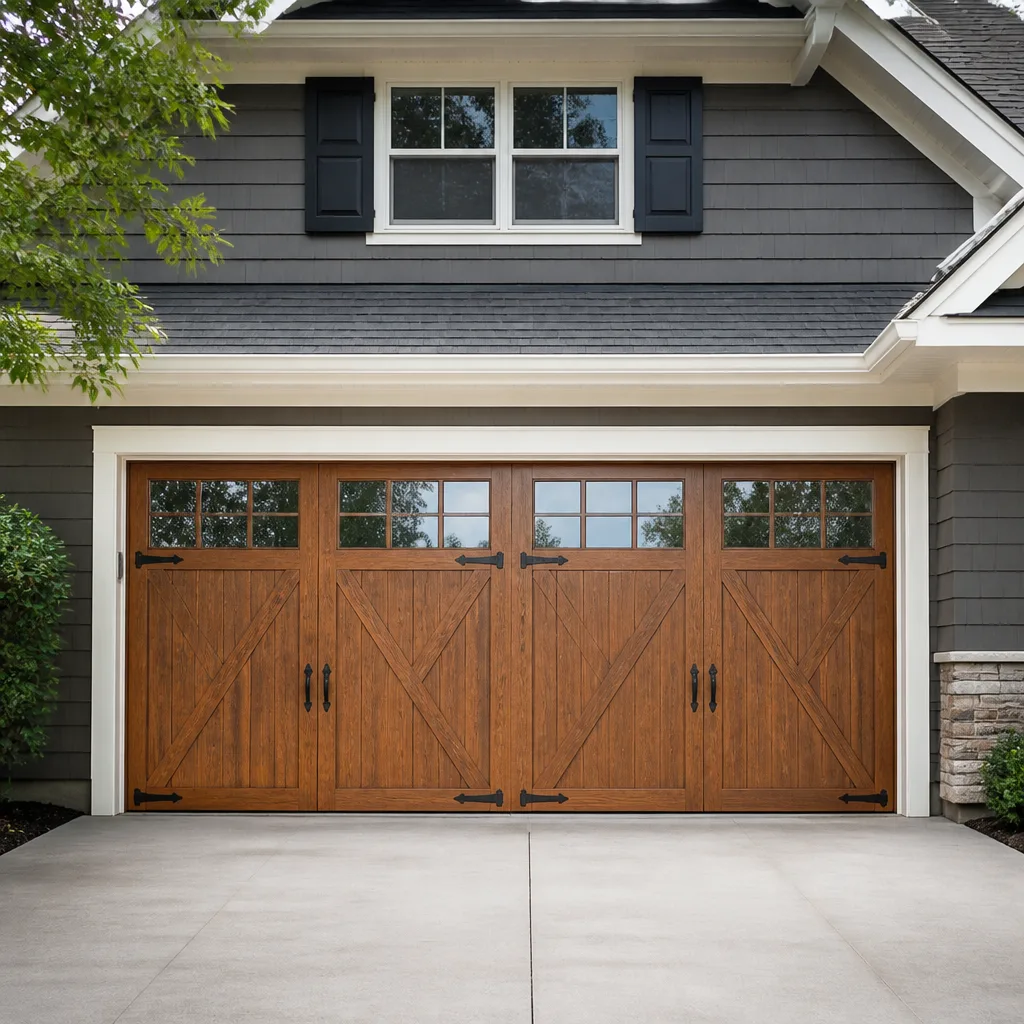
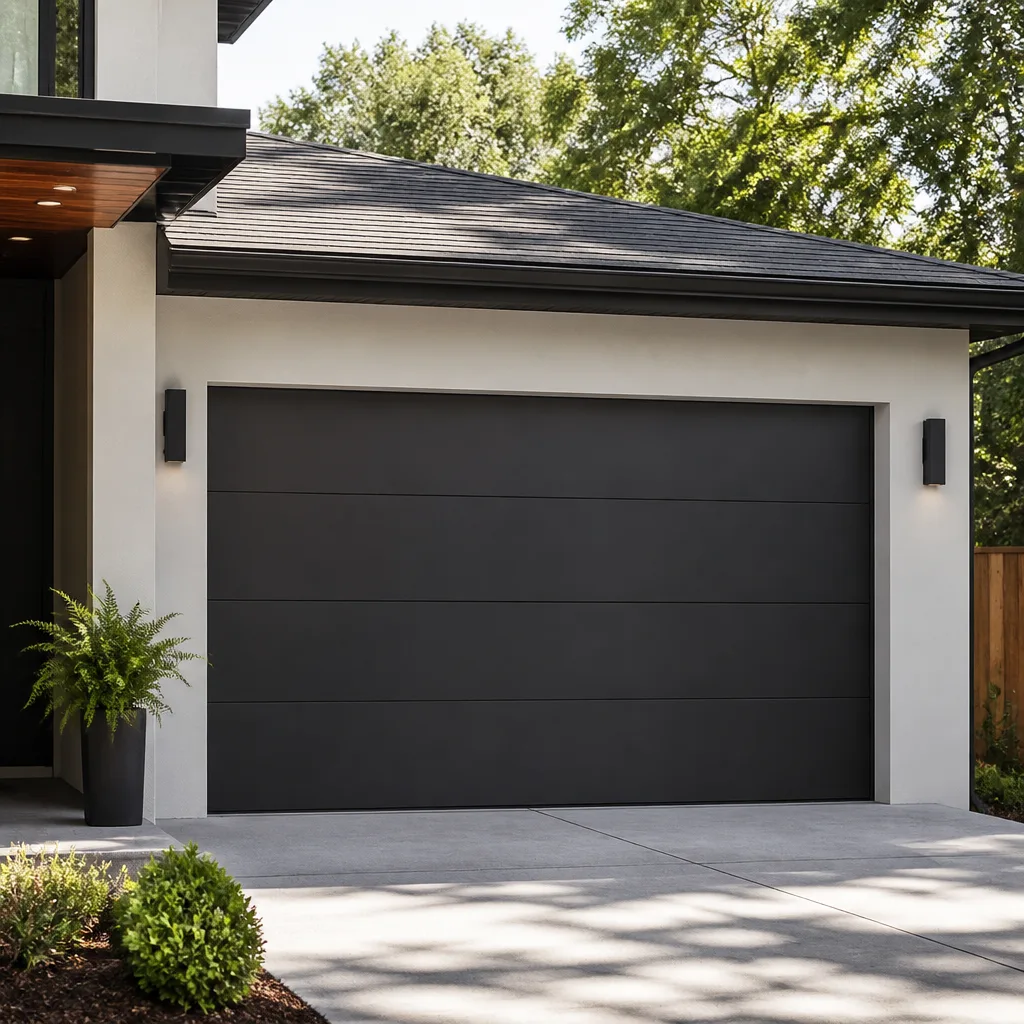
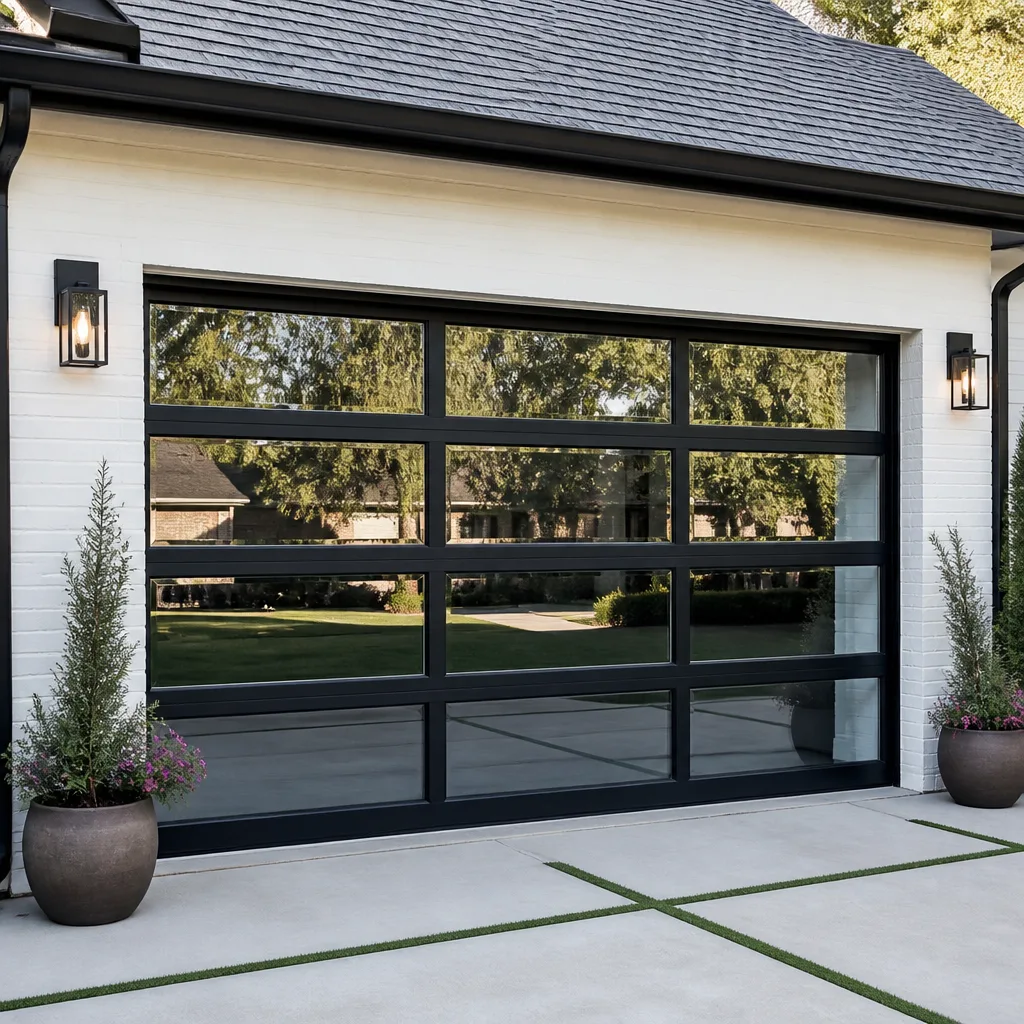
 Before
 After
After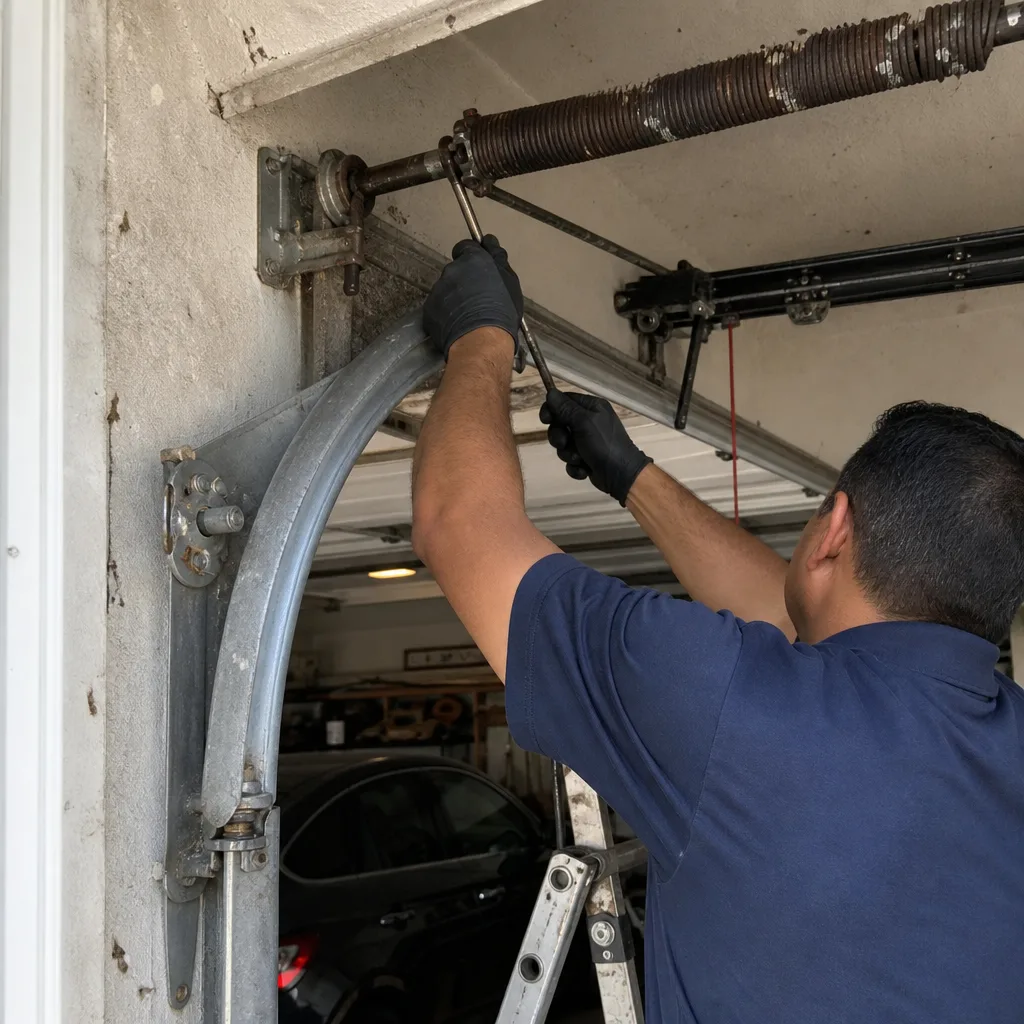 Before
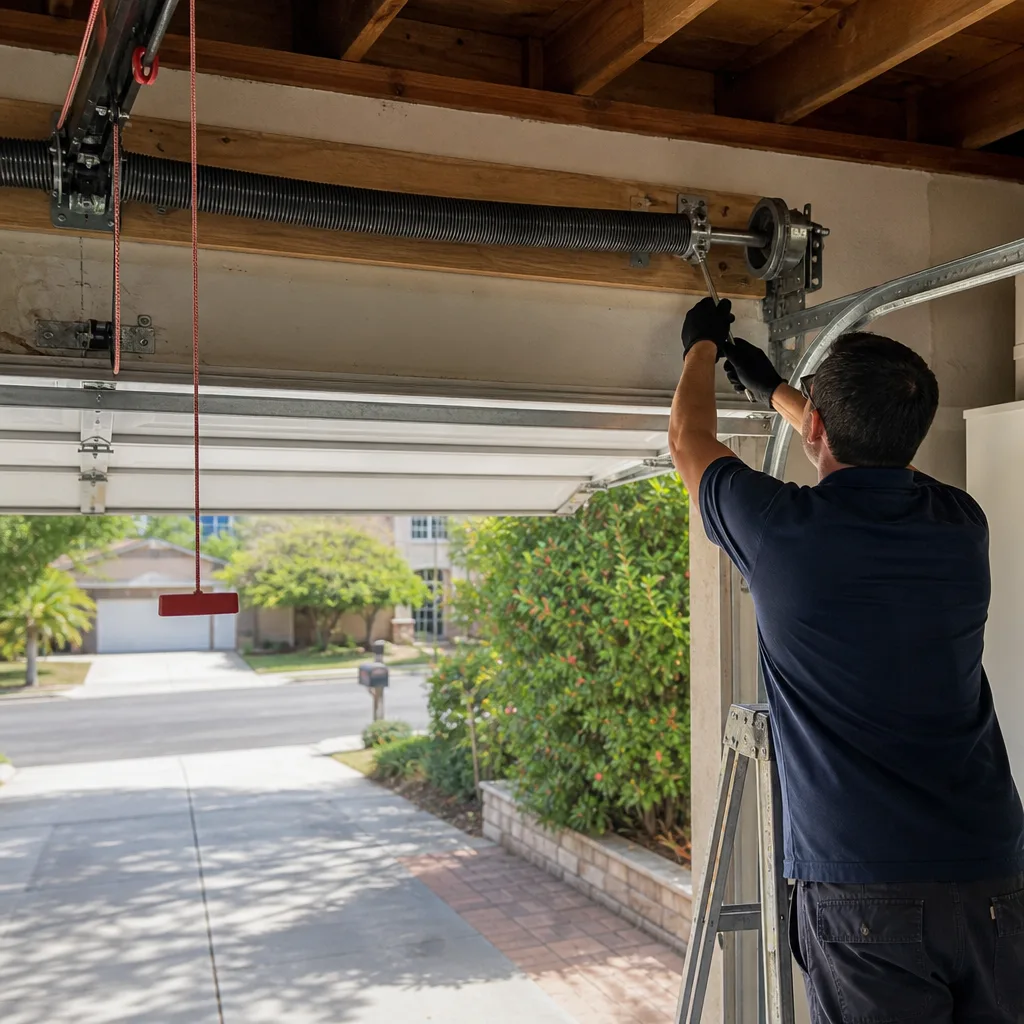 After
After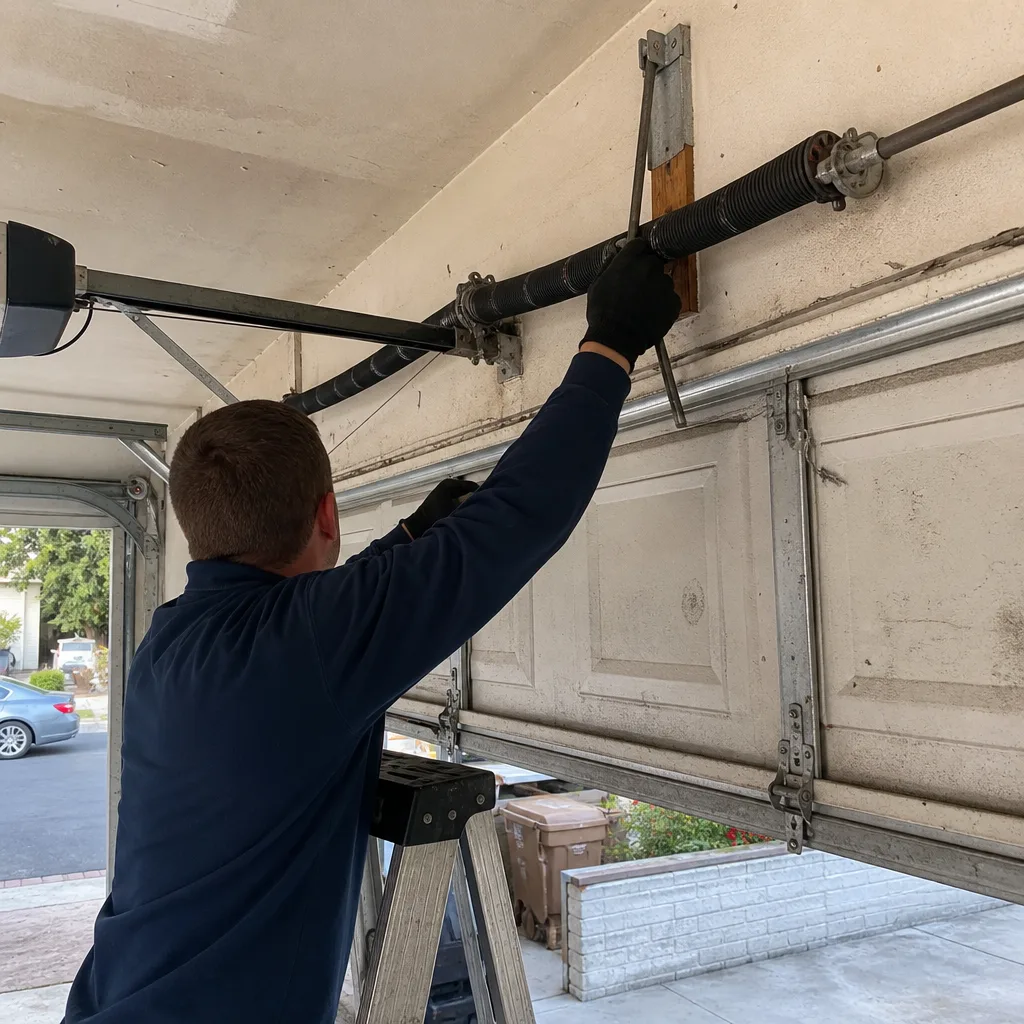 Before
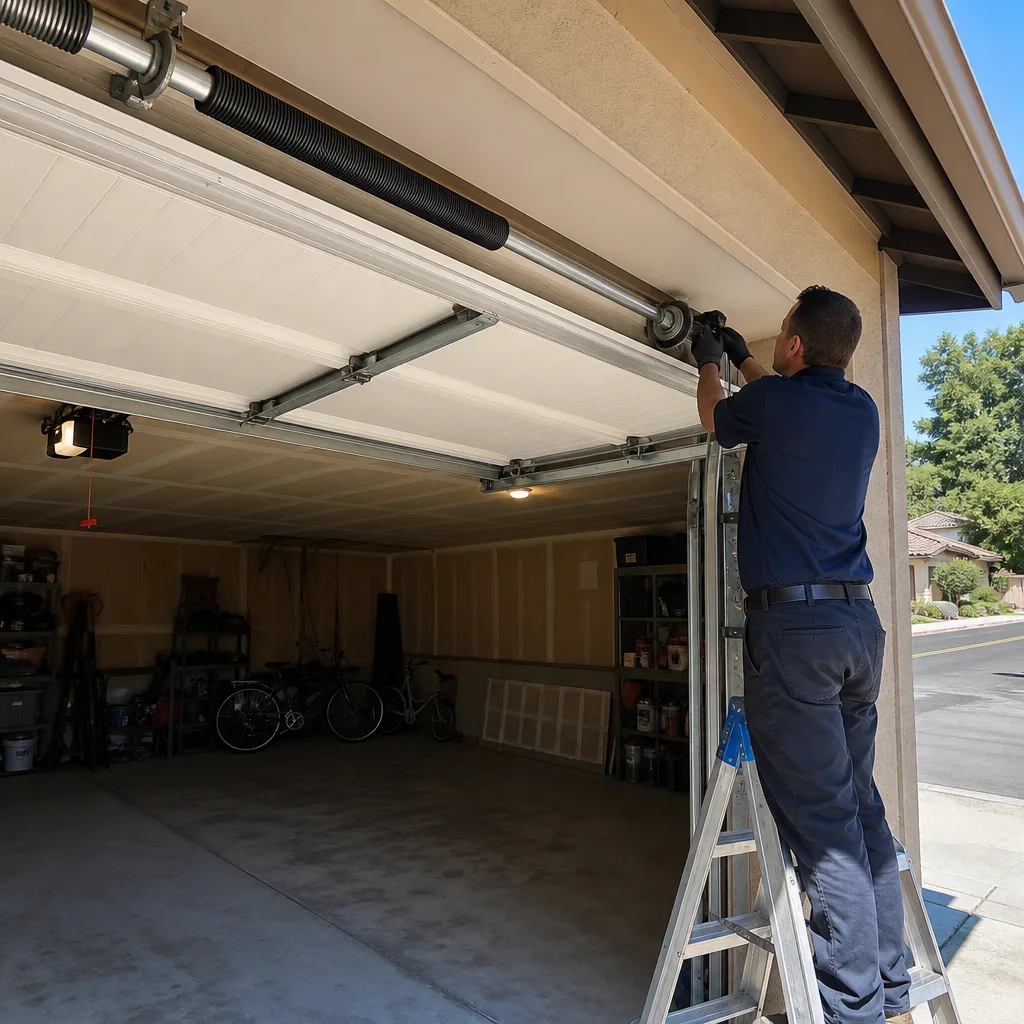 After
AfterGarage Door Repair Maintenance Checklist for Thousand Oaks Homeowners
Most maintenance checklists fail because they give you a list of things to look at without telling you what failure actually looks like. A garage door spring that passes a visual check can still be two months from snapping, because the indicator isn’t rust on the surface. It’s coil gap, the space that opens between spring coils under load, and most homeowners in Thousand Oaks don’t know to measure it. This guide gives you quantified pass/fail tolerances, a frequency calendar matched to our local climate, and a documentation format you can hand to a contractor or a buyer’s inspector. No fluff, no generic advice.
Quick Answer
A complete garage door maintenance routine for Thousand Oaks homeowners runs on two tracks: a monthly 10-minute visual inspection you do yourself, and a seasonal deep check aligned with October’s dry Santa Ana heat and February’s coastal wind cycles. Track findings in a simple maintenance log with dates, measurements, and photos, and you’ll catch torsion spring fatigue, roller wear, and cable fraying before they become emergency calls. Anything involving torsion springs, cable under tension, or the opener’s force settings should be left to a trained professional for Garage Door Repair services.
Table of Contents
- The Tool Question: What Actually Needs Equipment
- Torsion Springs: Reading the Signs You’re Missing
- Rollers and Track: Wear Tolerances That Matter
- Cables and Pulleys: Counting Fray Strands
- The Auto-Reverse Test: A 2×4 and Two Minutes
- Opener Maintenance: Logic Board, Limit Switches, and the Manual
- Thousand Oaks Seasonal Calendar
- The Maintenance Log: Your Paper Trail
- Common Mistakes to Avoid
- When to Call a Professional
- Frequently Asked Questions
- The Bottom Line
BeforeAfterThe Tool Question: What Actually Needs Equipment
Most homeowners either overcommit to a professional call for something trivial or undercommit a dangerous component to a YouTube tutorial. Neither is right. Here’s the honest breakdown:
What you can check with your eyes only:
- Cable fraying: count broken strands. More on this below.
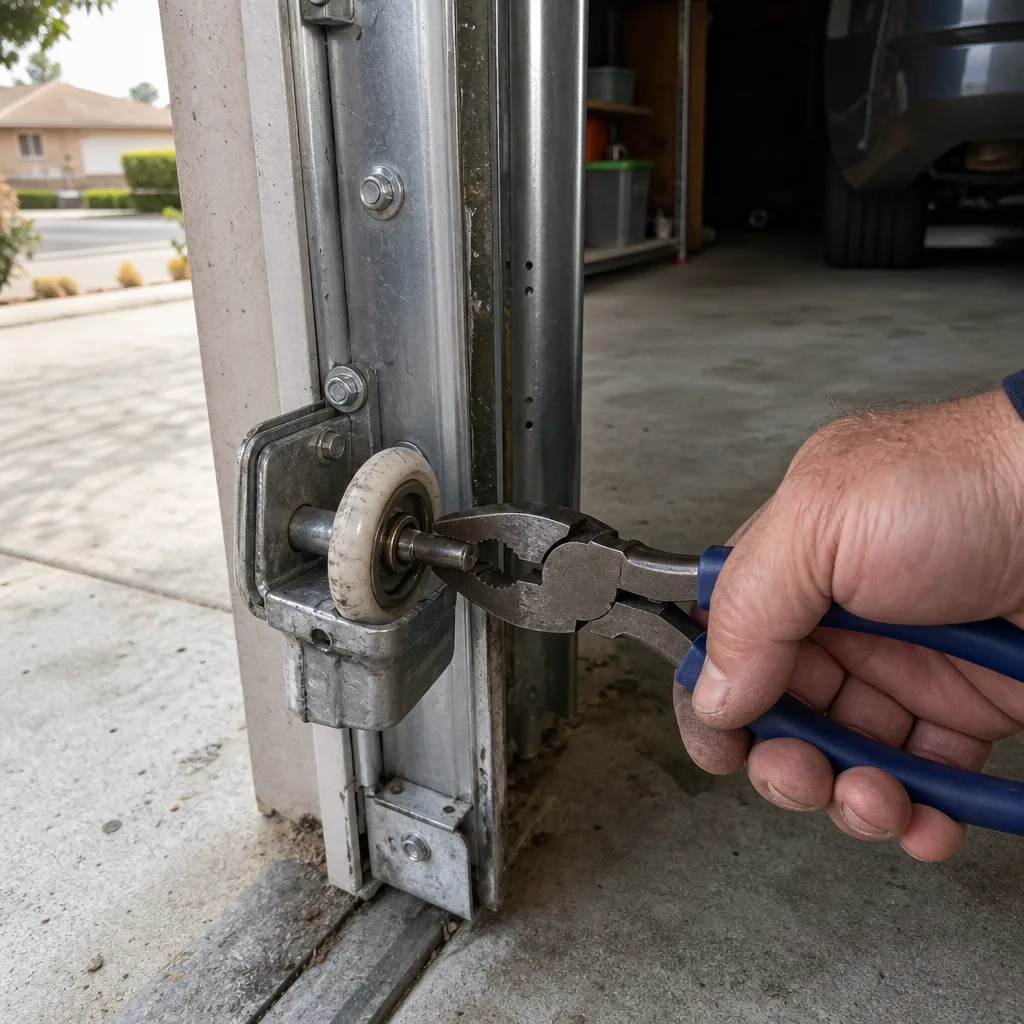
- Roller wear: look for visible flat spots, wobble, or a gap between the wheel and the shaft.
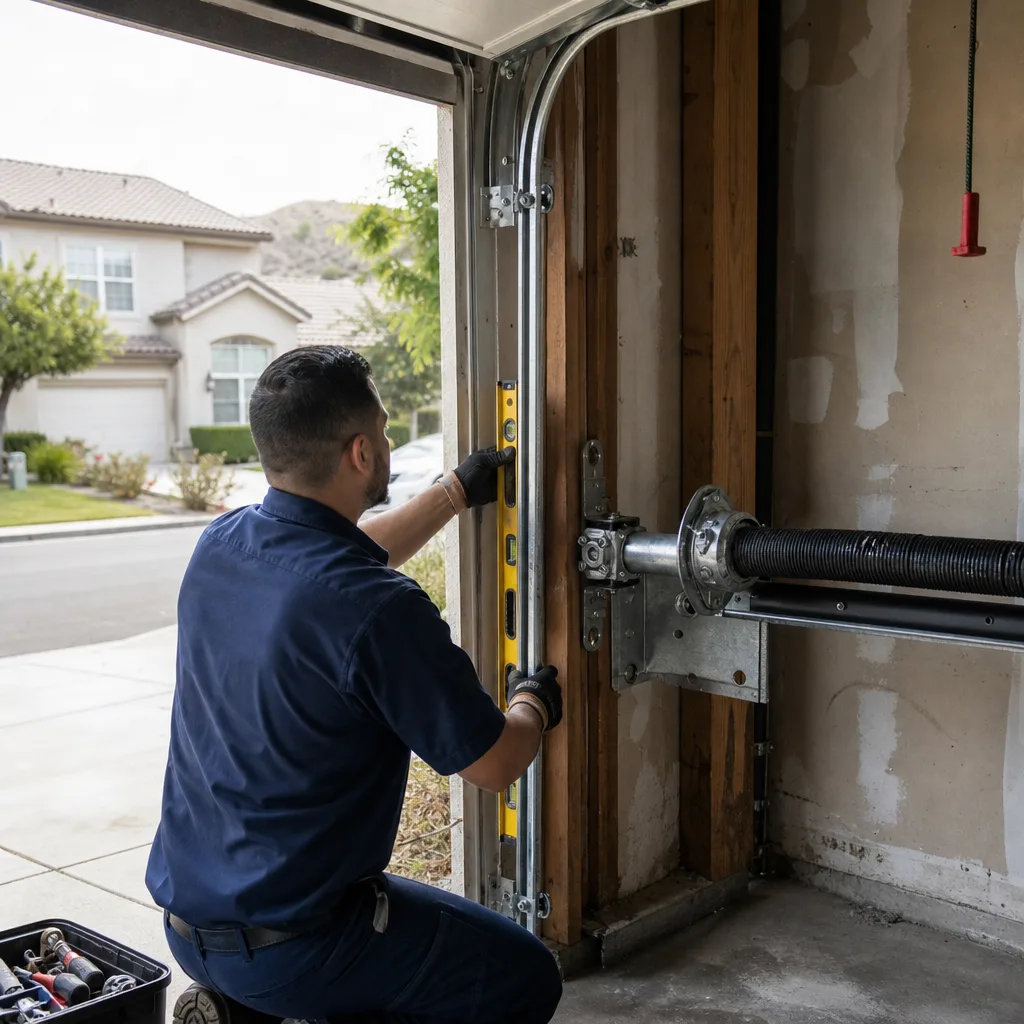
- Track alignment: stand inside the garage with the door closed, sight down each track. It should be parallel to the door edge, no visible bend.
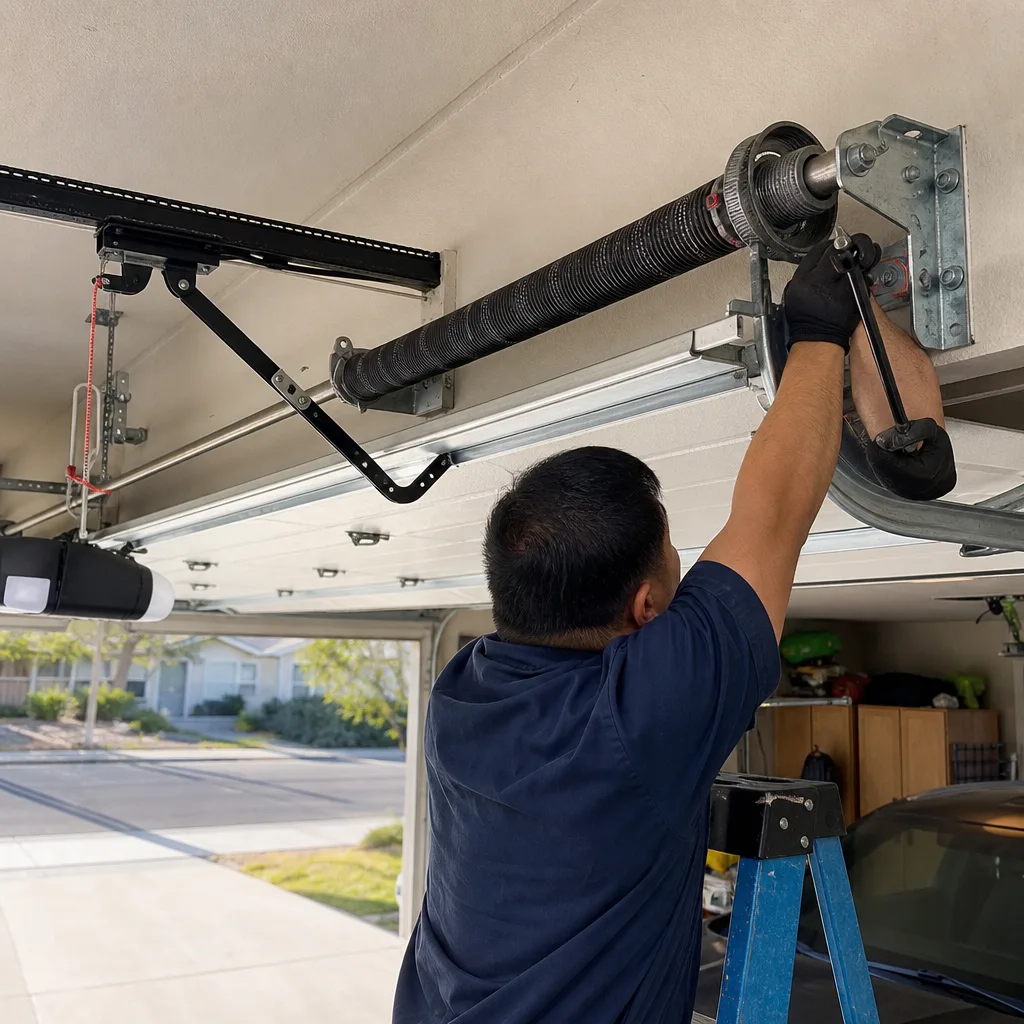
- Torsion spring coil gap: with the door closed, look at the spring. Coils should sit flush against each other. If you see daylight between coils, that’s fatigue.
- Weather stripping: run your hand along the bottom seal. Cracks, gaps, or daylight mean replacement is due.
- Opener response: how long between pressing the button and the door starting to move? More than one second means the logic board or capacitor is struggling.
What requires a $12 tool (a digital caliper or feeler gauge):
- Roller wear measurement: use the caliper to measure the wheel diameter. New nylon rollers measure between 2 and 2.25 inches depending on brand. If you’re at 1.875 inches or less, replacement is due.
- Cable diameter: with the garage door open, use calipers on a clean section of the cable. A standard 7-foot residential door uses 1/8-inch or 3/32-inch aircraft cable. If you measure under 3/32, replace it.
- Spring wire diameter: this is how you verify what a contractor quotes against what’s installed. The spring’s wire diameter is stamped or printed on the spring cone or listed in the opener manual. A 0.250-inch replacement when the original was 0.225 is an upsell, not an upgrade.
What you should never touch: torsion springs under tension, any cable replacement, and the opener’s internal limit switches. These carry stored kinetic energy or wall voltage. A torsion spring snap in a Thousand Oaks garage has put more than one homeowner in the emergency room. Don’t.
Torsion Springs: Reading the Signs You’re Missing
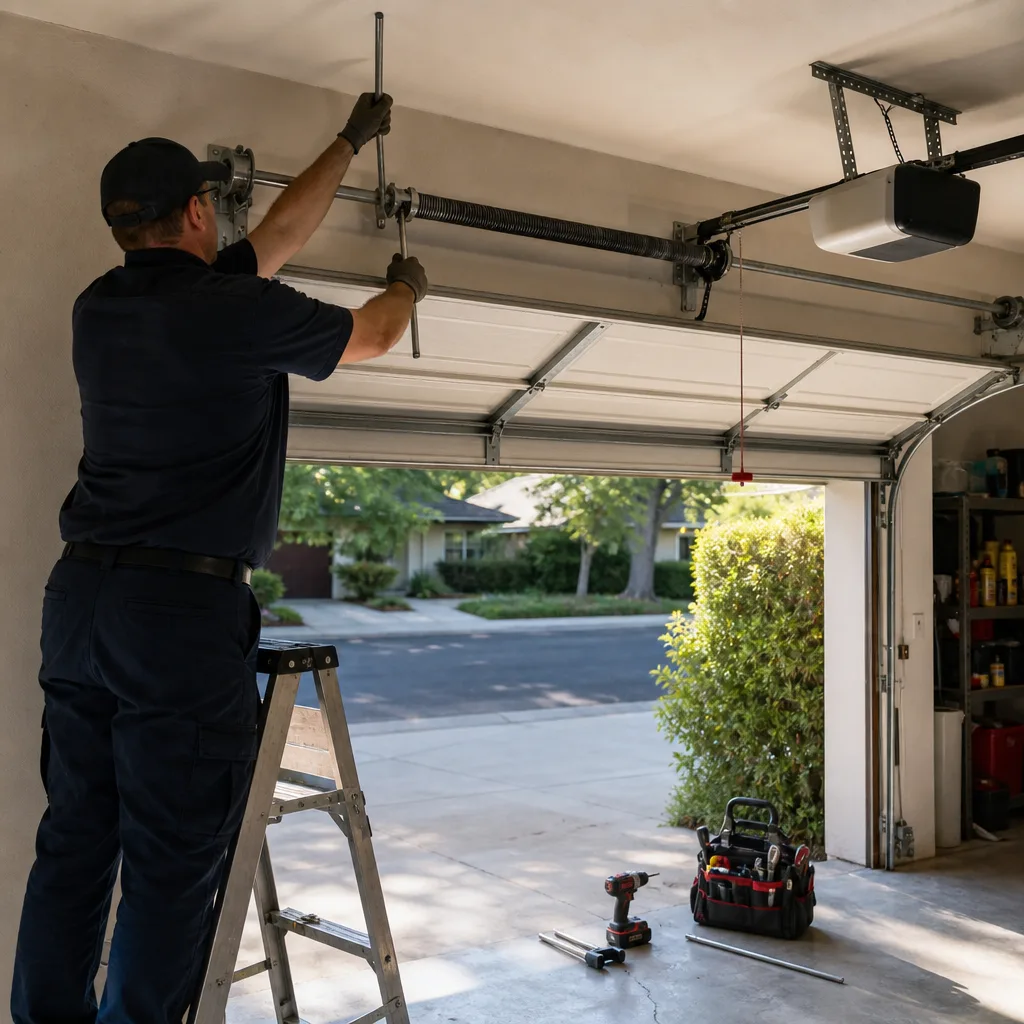
This is the component that causes the most expensive Thousand Oaks emergency calls, and it’s almost always predictable if you know Garage Door Warning Signs: A Thousand Oaks Homeowner’s Reference Guide. The torsion spring is the coiled steel rod mounted above the door opening. It stores the mechanical energy that lifts the door when the opener does its work. Standard torsion springs are rated for 10,000 cycles. A cycle is one full open and close.
How to date your spring’s remaining life:
- Find the cycle rating. It’s printed on the spring cone or in the opener manual. Some manufacturers stamp the winding cone itself.
- Count your daily cycles. If you’re a two-car household in Thousand Oaks where both cars leave in the morning and return in the evening, that’s four cycles per day, minimum.
- Run the math. A 10,000-cycle spring at four cycles per day lasts 2,500 days, about 6.8 years. If your spring was installed in 2020, you’re over 1,800 cycles in. You’re fine now, but you’re past the halfway point of expected life.
- Adjust for lifestyle. If you use your garage as a workshop entrance, home gym access, or you have a teenager with friends coming and going, you’re at six to eight cycles per day. That same spring is now a 3.5-year spring.
In our experience across Thousand Oaks, we see spring failures concentrated in homes built between 1995 and 2010 where the original builder-grade springs are still in service. Those springs were typically rated at 10,000 cycles, but they’ve now seen 15 to 20 years of use. They’re not failing on a schedule. They’re failing because they’re exhausted.
Pass/fail criteria for torsion springs:
- Pass: coils flush, no visible gap, no rust pitting deeper than surface staining, spring measures within 0.01 inch of the installed spec.
- Watch: coil gap between 1/16 and 1/8 inch. The spring is fatiguing. Budget for replacement within six months.
- Fail: coil gap over 1/8 inch, visible deformation, or a snapped coil. If you see this, stop using the door. Every additional cycle risks a sudden snap that can damage the door, the opener, or you.
Here’s the counterintuitive part: surface rust is usually cosmetic. Coil gap is the failure indicator. Coil gap means the steel has permanently deformed under repeated load, and no amount of lubrication will fix it. If you measure coil gap beyond 1/8 inch, call Servo Garage Doors Thousand Oaks for a repair assessment. We’ll quote a flat price with a written scope before any work begins.
Rollers and Track: Wear Tolerances That Matter
Thousand Oaks homes sit in a specific climate that accelerates roller wear faster than your average inland city. Our air is dry enough to crack nylon compounds, but the coastal influence brings enough overnight moisture to corrode the steel roller shafts inside those nylon wheels. The result is a roller that looks fine externally but has a shaft that’s pitted and ready to seize.
Roller pass/fail tolerances:
- Nylon rollers 2-inch diameter: Pass at 1.95 inches or larger. Replace at 1.875 inches or below.
- Nylon rollers 2.25-inch diameter: Pass at 2.2 inches or larger. Replace at 2.125 inches or below.
- Steel rollers: Pass if no visible flat spots and the wheel rotates freely with no grinding. Replace at any sign of shaft scoring or if the bearing is loose enough to wiggle the wheel side to side.
- Any roller with a cracked nylon wheel: Replace immediately. A cracked roller can shatter under load and drop the door’s weight onto the track.
Track issues are often misdiagnosed as opener problems. When the door hesitates halfway up or makes a scraping noise, homeowners assume the opener motor is failing. More often, the track has been knocked out of alignment by a bump from a car, a bike hitting the wall, or the gradual settling of a Thousand Oaks hillside home. In areas like Newbury Park and the hillside neighborhoods south of the 101, mild soil movement is common, and a door that was perfectly plumb five years ago may now be off by 1/4 inch at the header.
Track alignment check:
- Close the door completely.
- Stand inside the garage facing the door. Sight down the left track from top to bottom.
- The track should run perfectly parallel to the door edge. Any deviation, even 1/8 inch, creates resistance that the opener will fight until something fails.
- Repeat on the right track.
- Check the track brackets. Every bracket should be tight against the wall, with no gap between the bracket and the jamb.
Lubrication belongs on the track’s inner rail, not on the rollers themselves. Use a garage door specific lubricant, not WD-40. WD-40 is a solvent that strips existing lubricant. In Thousand Oaks’ heat, it evaporates within days.
Cables and Pulleys: Counting Fray Strands
Garage door cables are quietly the most dangerous component when they fail, because they fail under tension. The cable is under load whenever the door is open or in motion. A cable that snaps at the wrong moment releases that tension violently, and the door’s weight transfers to whatever is left holding it. If you’re standing underneath, the result is often a trip to Los Robles Regional Medical Center.
How to inspect cables safely:
- Open the door fully. The cables are now at their lowest tension, though still not zero.
- Stand to the side, not under the door. Never put your head or body between the door and the ground.
- Examine the cable where it wraps around the drum at the top of the door. This is where most fraying begins.
- Run your finger slowly along the cable, feeling for broken strands. A standard 1/8-inch cable has 19 strands. If you can count three or more broken strands in any 6-inch section, replace the cable.
- Check both sides. Cables age together. If one is showing fraying, the other is close behind.
Fraying strand count pass/fail:
- Pass: zero to two broken strands total across the cable length, no visible kinking, no corrosion pitting.
- Replace: three or more broken strands in any 6-inch section, any kink, any visible unraveling at the drum, or rust that flakes off when touched.
Pulleys wear in a specific pattern: the bearing in the center of the pulley wears first, causing the pulley to wobble. When the pulley wobbles, the cable rubs against the pulley flange, creating a polished metal surface and eventually cutting into the cable. If you see a shiny, polished groove on the pulley flange, the pulley is done. Thousand Oaks’ dry heat accelerates bearing lubrication breakdown, so pulley bearing wear is faster here than in coastal cities like Ventura or Oxnard.
The Auto-Reverse Test: A 2×4 and Two Minutes
This is the test that federal law has required since 1993, and it’s the one most Thousand Oaks homeowners haven’t done since the day they moved in. The auto-reverse mechanism is the opener’s safety system. It detects resistance when the door hits something on the way down and reverses direction. The test uses a 2×4 laid flat on the ground under the door’s path.
The test:
- Place a 2×4 flat on the ground in the center of the door’s path.
- Press the button to close the door.
- The door should contact the 2×4 and reverse direction within two seconds, returning to the fully open position.
- If the door crushes the 2×4, if it reverses slowly, or if it stops without reversing, the auto-reverse is failing.
This test should be done monthly. It takes two minutes and it’s the single most important safety check on the entire door system. If the door fails this test, stop using the opener and call a professional. A failing auto-reverse is not an inconvenience; it’s a danger to anyone who walks under the door, including children and pets.
The second safety feature is the photoelectric eyes, the small sensors mounted about six inches off the ground on each side of the door opening. Test them by starting to close the door and waving your foot through the beam. The door should immediately reverse. If it doesn’t, the sensors are dirty, misaligned, or failed. Wipe the lenses with a dry cloth and straighten the sensor heads. If the door still ignores the beam, the opener’s logic board has likely failed.
In Thousand Oaks, we’ve found sensor misalignment is especially common in homes near the Santa Monica Mountains, where doors face west and catch afternoon sun glare that confuses older sensor models. If your sensors are more than 15 years old and intermittently failing, replacement is more cost effective than repeated alignment calls.
Opener Maintenance: Logic Board, Limit Switches, and the Manual
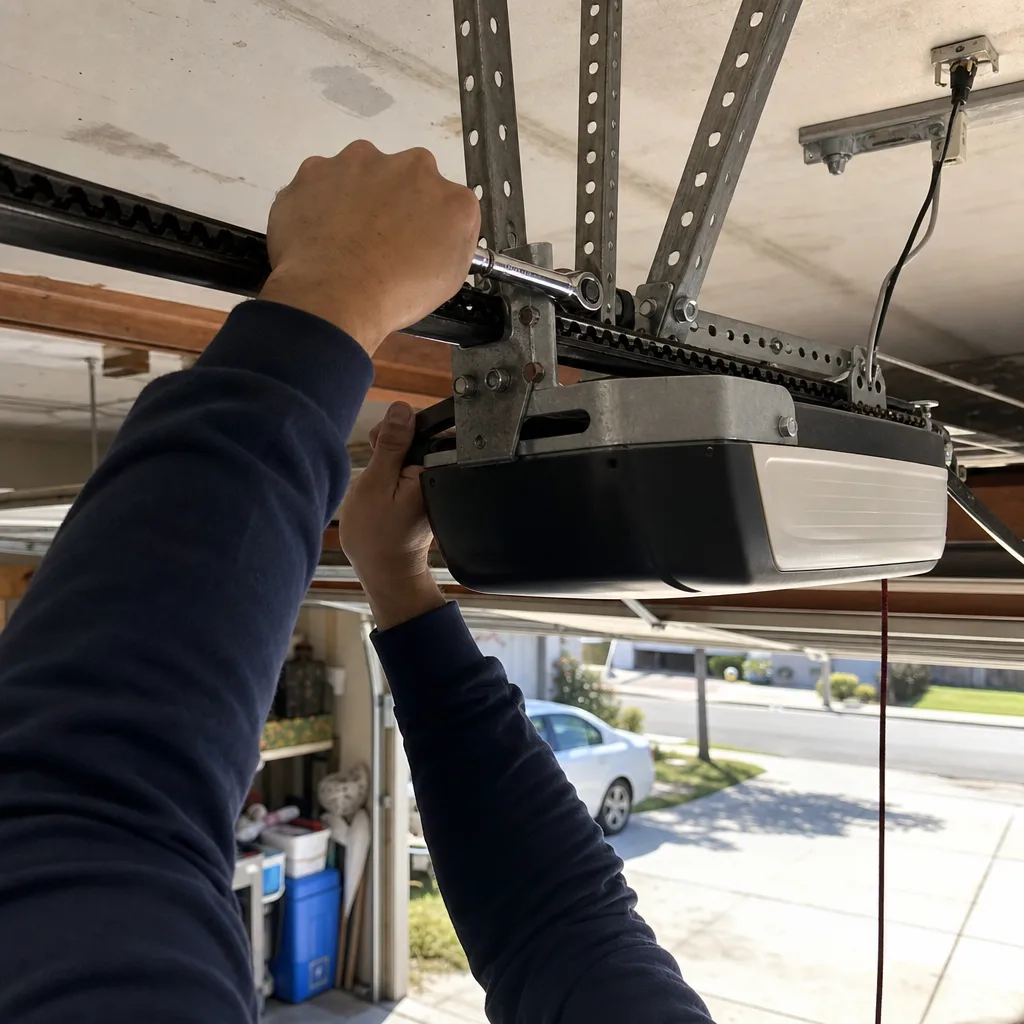
The opener is the most misunderstood component on the door. Homeowners think of it as a motor, but the motor rarely fails. What fails is the logic board, the circuit board that interprets signals from the wall button, remotes, and sensors, and the limit switches that tell the motor when to stop.
Logic board symptoms:
- Door doesn’t respond consistently to the wall button or remotes.
- Door opens but won’t close, or closes but won’t open.
- Remote range is significantly shorter than it used to be, especially on hot Thousand Oaks afternoons.
- The opener light flickers or doesn’t work even with a fresh bulb.
- The door reverses immediately after closing, with no obstruction present.
Limit switches are the mechanical or electronic stops that tell the opener where the door’s travel ends. When they drift out of adjustment, the door either bangs against the ground on closing or reverses just before fully closing. This is a simple adjustment, but it requires removing the opener cover and working near live wires. If you’re not comfortable with that, and most homeowners shouldn’t be, call a professional.
Reading the opener manual for maintenance data
Your opener manual contains two pieces of information that matter for maintenance: the spring cycle rating and the opener’s service schedule. Most manuals recommend lubricating the chain or belt every six to twelve months and inspecting the photoelectric eyes monthly. If you’ve lost the manual, the model number is on a sticker on the back or side of the opener motor housing. Search that model number online and the manufacturer will have a PDF.
Servo Garage Doors Thousand Oaks handles opener repair and replacement on LiftMaster, Chamberlain, Genie, Craftsman, and every other major brand.
Thousand Oaks Seasonal Calendar
Thousand Oaks has two seasons that stress garage doors differently, and your maintenance schedule should adapt. Here’s the calendar that makes sense for our climate:
October: Fire-season dry heat check
October is our driest month. Humidity drops into single digits during Santa Ana wind events. This is when nylon rollers crack, rubber weather stripping hardens and separates, and the heat causes opener capacitors to expand and fail. Do this in the first two weeks of October:
- Full roller inspection: check every roller for cracks, flat spots, and wear measurement.
- Weather stripping inspection: run your hand along the bottom seal and side seals. Any cracked or missing section means water can enter during the winter.
- Opener response test: time the door from button press to movement. One second or more of delay this time of year means a failing capacitor or logic board.
- Lubricate track inner rails and hinges. Use a garage door specific lubricant, applied sparingly.
February: Coastal wind cycle check
February brings our strongest onshore winds and the highest humidity. The wind doesn’t directly damage the door, but it stresses components that are already weak. This is when most Thousand Oaks spring failures occur, because winter temperature swings cause the steel to contract, and the wind adds variable load to the door surface. Do this in the first two weeks of February:
- Torsion spring inspection: measure coil gap. Even if you checked in October, check again. Winter temperature cycling accelerates fatigue in aged springs.
- Cable inspection: check for fraying and kinking. The marine layer brings moisture that accelerates corrosion on exposed cable.
- Auto-reverse test: redo the 2×4 test. The force settings can drift in cold weather.
- Track sighting: recheck alignment. Soil moisture changes as winter rains soak hillside soils, and some Thousand Oaks hillside homes see movement that shifts track brackets.
For homes in Thousand Oaks neighborhoods closer to the coast, like parts of Newbury Park that get more marine layer, add a third check in May for corrosion. Homes further inland, like most of the Conejo Valley floor, can usually skip this one.
The Maintenance Log: Your Paper Trail
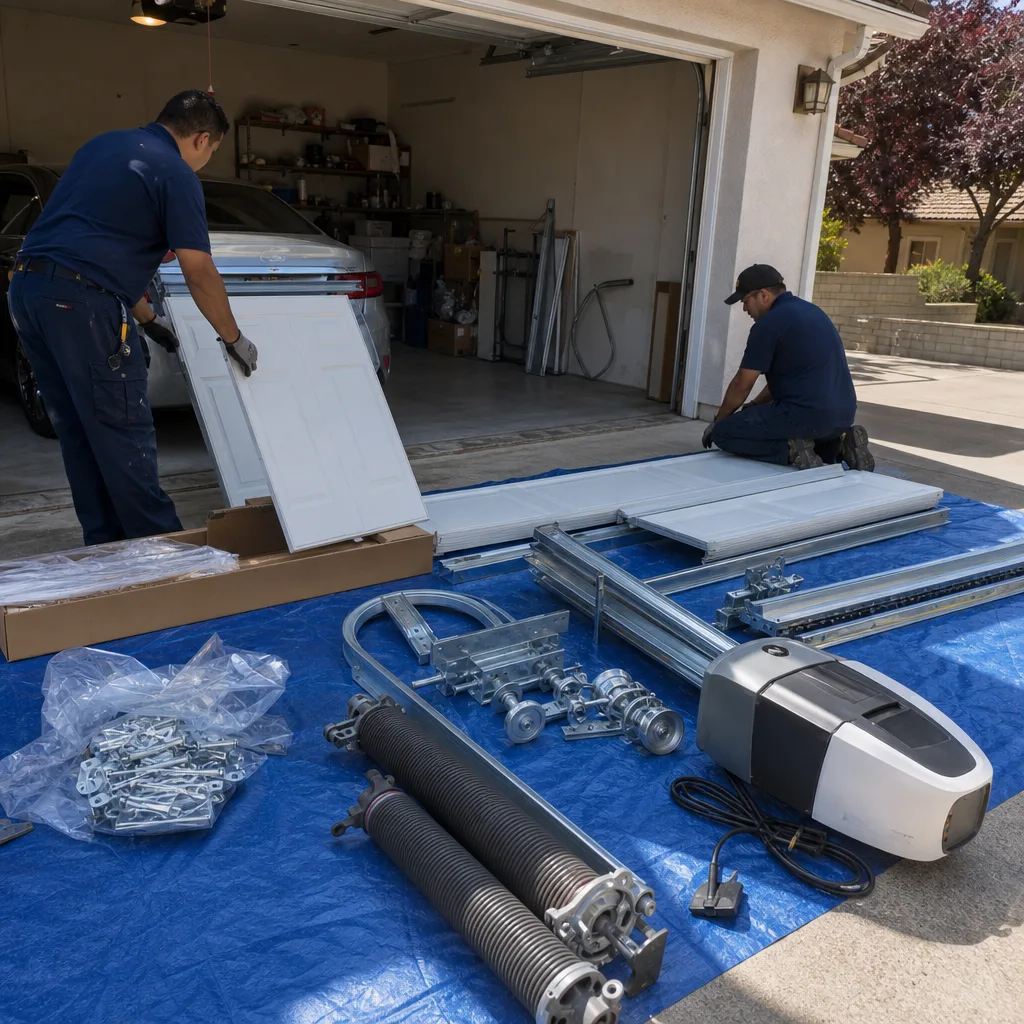
Here’s the part most guides never mention, and it’s the most valuable thing you can create. A maintenance log is a simple table that records what you checked, when you checked it, what you measured, and what you did. It serves three purposes:
- It gives a future contractor real data instead of a vague “it’s been making a noise for a while.”
- It gives a buyer’s inspector documentation that the door has been maintained, which is increasingly requested during home sales.
- It shows a warranty provider that the failure wasn’t neglect.
Simple log format:
| Date | Component | Measurement | Pass/Fail | Action Taken |
|---|---|---|---|---|
| 10/12/24 | Torsion spring | Coil gap 0.06 inch | Watch | Recheck in Feb 2025 |
| 10/12/24 | Roller 2-L | Wheel dia 1.95 inch | Pass | None |
| 10/12/24 | Auto-reverse | Reversed in 1.5 sec | Pass | None |
Store this in a notebook, a spreadsheet, or a notes app. The format matters less than the consistency. A homeowner who can show a three-year maintenance log is a homeowner who catches problems early and avoids emergency calls. It’s also a homeowner who can verify a contractor’s claims, because they know what their spring looked like last month.
At Servo Garage Doors Thousand Oaks home service calls, every visit closes with a documented photo record of what was found and what was done. That’s our standard. Your log is the same discipline, applied before you call.
Common Mistakes to Avoid
- Lubricating the rollers with WD-40. WD-40 is a solvent, not a lubricant. It strips the bearing grease and leaves the roller running dry. Use a garage door specific lubricant on the track rails and hinges only.
- Ignoring a door that hesitates. A door that pauses, jerks, or starts slowly isn’t “just old.” It’s a component failing, and the longer you wait, the more expensive the fix. Hesitation is often the logic board, the capacitor, or the trolley carriage.
- Assuming surface rust means spring failure. Surface rust is common in Thousand Oaks’ humidity swings and rarely indicates a structural problem. Coil gap is the metric. Measure it before you pay for anything.
- Doing your own torsion spring work. This is the one job where “I watched a video” is genuinely dangerous. Torsion springs store enough energy to break bones or kill. A snapped torsion spring in a Thousand Oaks garage is not worth the $200 you’d save.
- Replacing one cable without checking the other. Cables age together. If one is fraying, the other is weeks behind. Replacing one and leaving the other is a false economy.
- Forgetting the auto-reverse test. This federal safety feature has been required since 1993, and most homeowners have never tested it. A door that doesn’t reverse is a serious safety hazard, and the test takes two minutes with a piece of scrap wood.
When to Call a Professional
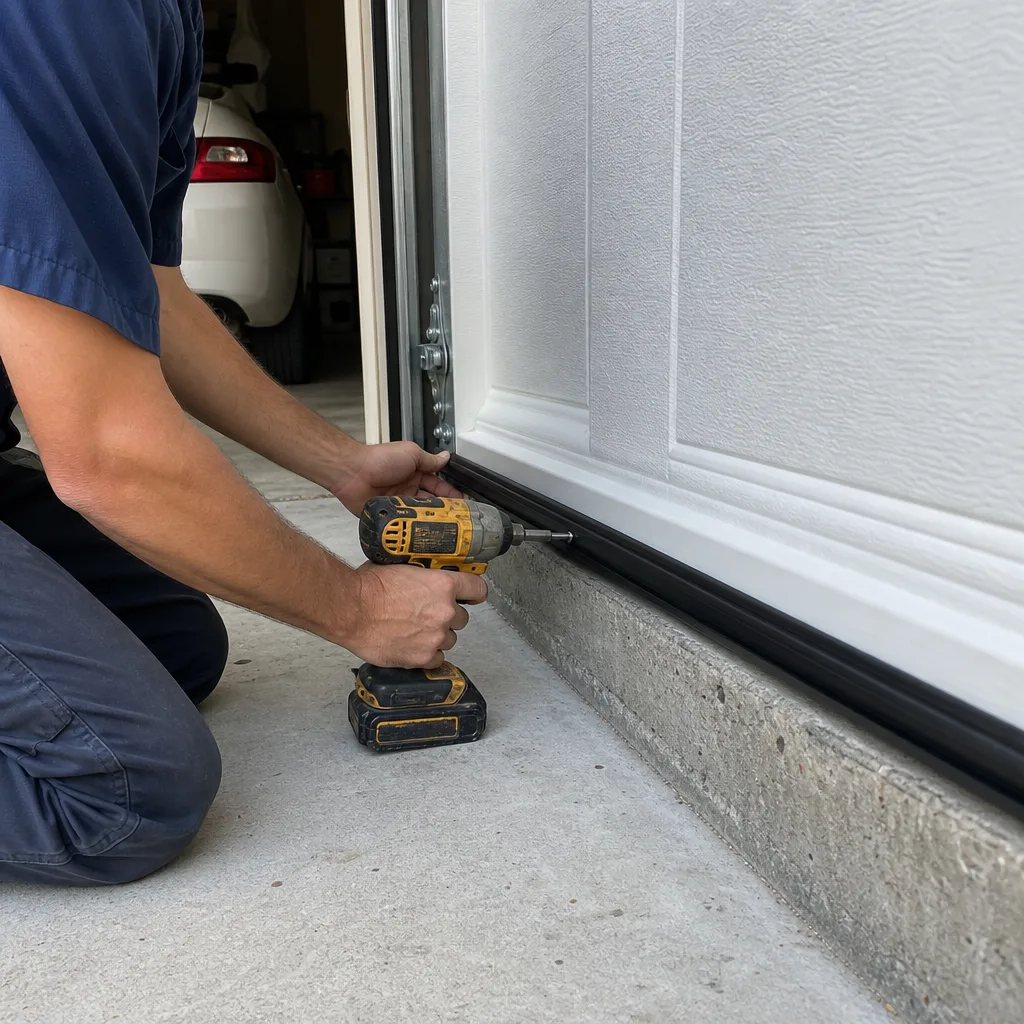
Call a professional if you see coil gap beyond 1/8 inch on your torsion spring, three or more broken cable strands in any 6-inch section, a roller that’s worn below 1.875 inches, or a door that fails the auto-reverse test. If you’re unsure how to choose one, see our How to Hire a Garage Door Contractor in Thousand Oaks: A Step-by-Step Guide. Also call if your door is banging on the ground, if the opener motor runs but the door doesn’t move, or if you see a visible bend or crack in any track section. These are not fix-it-weekend projects. They’re safety issues, and they get more expensive as the underlying damage compounds.
Servo Garage Doors Thousand Oaks offers free estimates in Thousand Oaks. We quote a flat price with a written scope before any work begins, and every visit includes a documented photo record of what we found and what we did. Call (424) 395-3203.
Frequently Asked Questions
Annually for most homes, with an additional check after the first winter rains if you live on a hillside. The combination of Santa Ana heat and coastal moisture means components age predictably, and an annual professional inspection catches what a homeowner’s eye misses.
Most professional maintenance visits in Thousand Oaks run between $75 and $150, depending on what’s included. At Servo Garage Doors Thousand Oaks, we quote a flat price with a written scope before any work begins, so you’ll know the cost before the technician arrives. Call (424) 395-3203 for a current quote.
Yes, for the visual and measurement checks in this guide. No, for anything involving torsion springs, cables under tension, or opener internals. The rule of thumb: if it requires a winding bar, don’t do it yourself.
Measure the coil gap with the door closed. Coils should sit flush. A gap under 1/8 inch means the spring is fatiguing and should be monitored. A gap over 1/8 inch means replacement should happen soon.
In our experience, it’s tired torsion springs on homes built between 1995 and 2010. The original builder-grade springs were rated for 10,000 cycles, and many have exceeded that. The failure shows up as coil gap, not surface rust.
Yes, mostly because of heat. October’s dry heat stresses capacitors and logic boards, and we see more opener failures during Santa Ana events than any other time. Keep the opener housing clean and check response time during the dry season.
Sight down the track from inside the garage with the door closed. The track should run perfectly parallel to the door edge. If you see a deviation of even 1/8 inch, or if the brackets have pulled away from the wall, the track needs adjustment.
For most Thousand Oaks homes, a steel door with a factory-applied finish from a brand like Clopay, Amarr, or Wayne Dalton holds up well. Wood doors require more maintenance in our dry heat and are more prone to warping and cracking unless sealed annually.
The Bottom Line
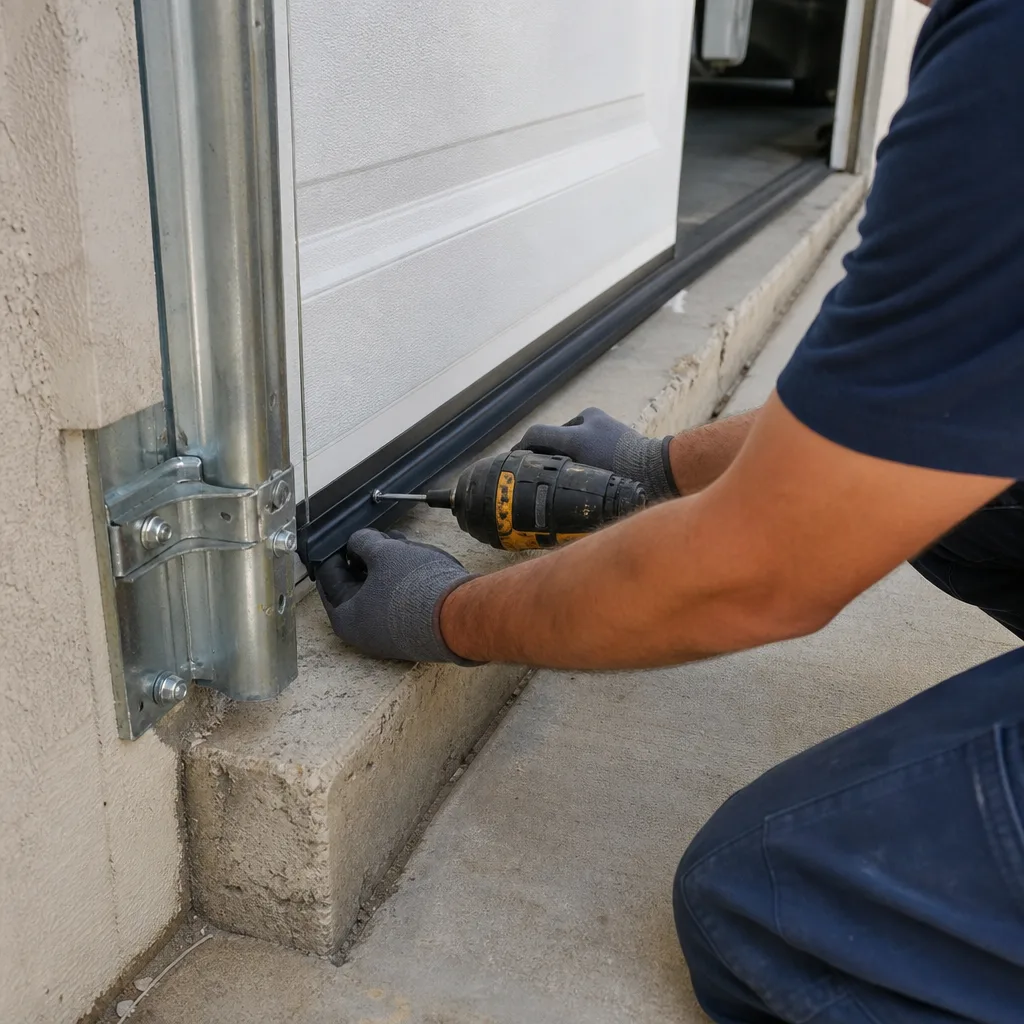
A garage door in Thousand Oaks can last 15 to 20 years if the components are monitored and replaced before they fail. The key disciplines are monthly visual checks, seasonal deep checks matched to our October heat and February winds, and a written log that documents what you found and when. The components that fail most often, torsion springs and cables, fail predictably if you know the pass/fail tolerances. If you measure coil gap, count fray strands, and do the auto-reverse test, you’ll catch problems before they become emergency calls. For anything involving spring tension or opener internals, call a professional. For more guides & resources, visit our blog.
Written by Marcus Deller, Owner at Servo Garage Doors Thousand Oaks, serving Thousand Oaks since 2015.