
Full 25-point door and opener safety check with every visit - springs, cables, rollers, tracks, and your LiftMaster or Chamberlain opener included
You get a price before we start. It does not change when the truck arrives.
 Before
 After
After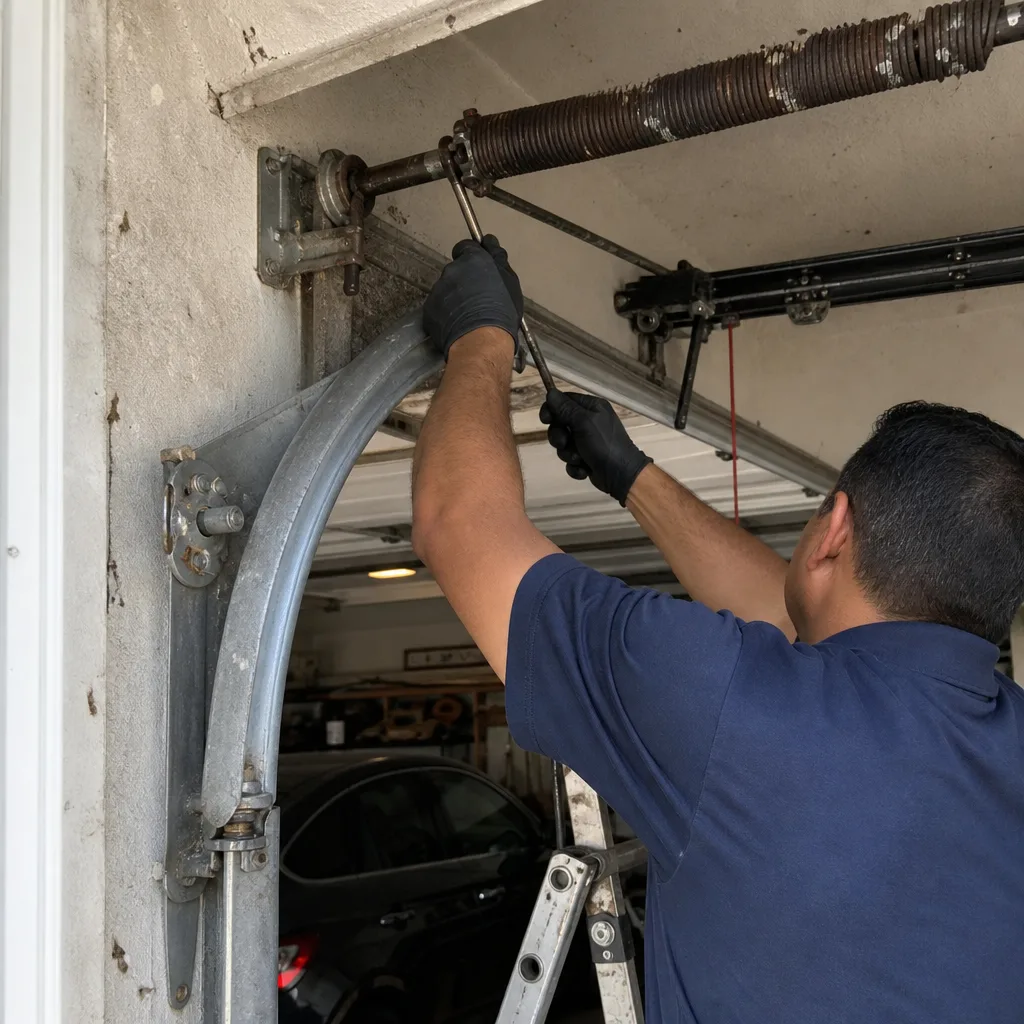 Before
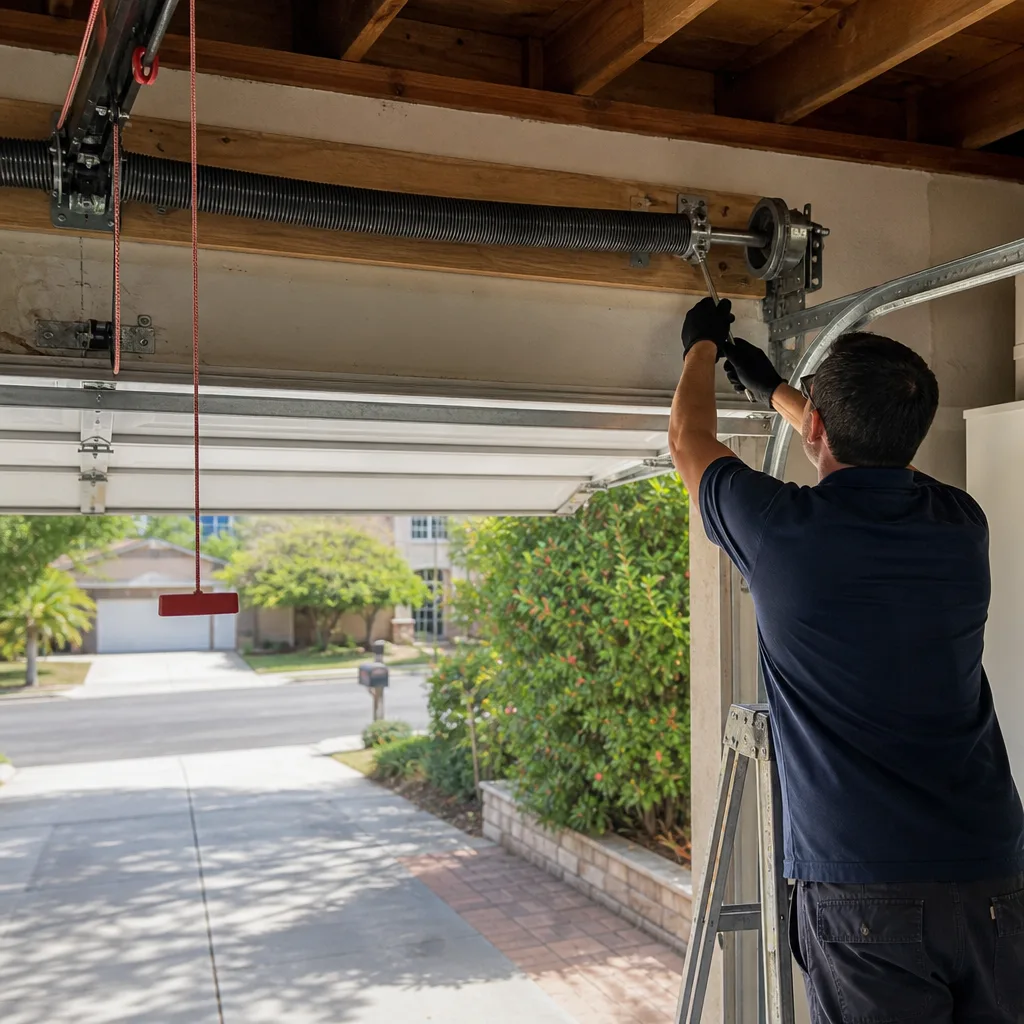 After
After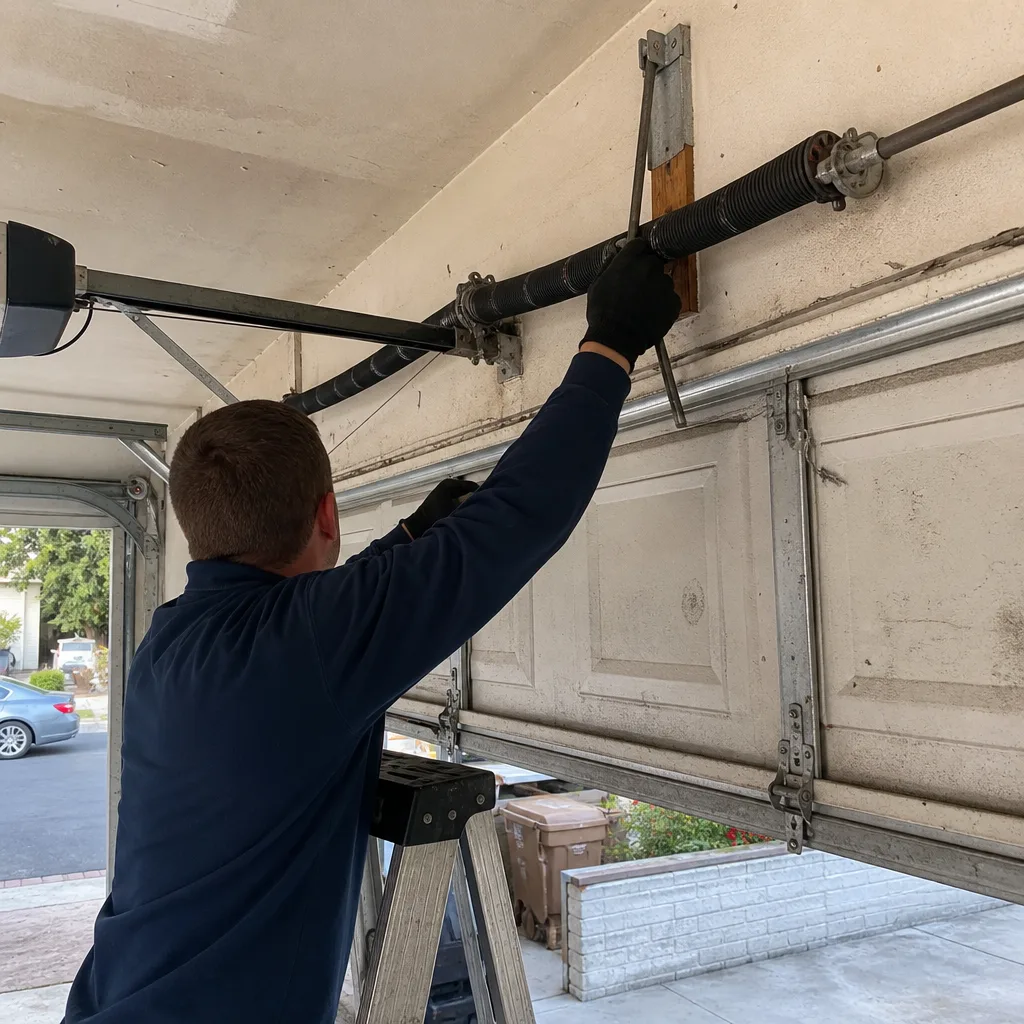 Before
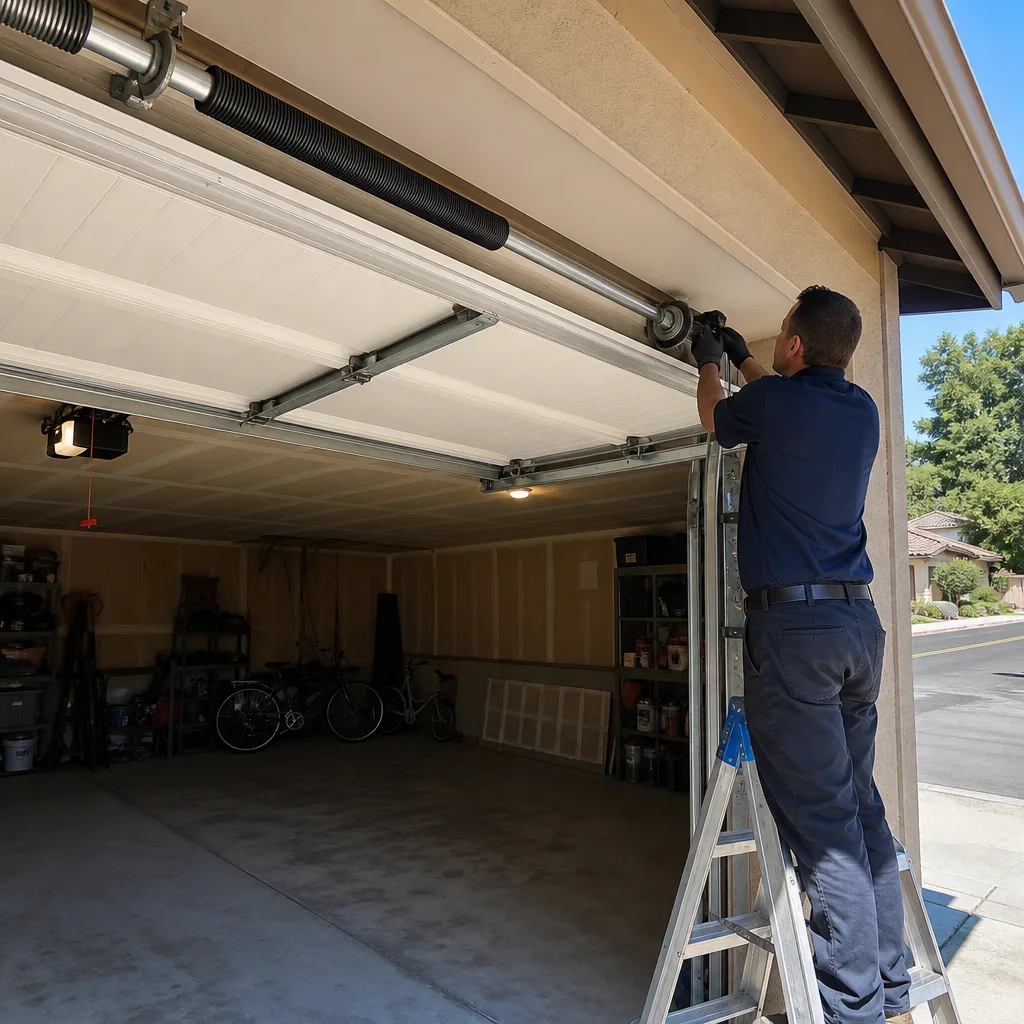 After
AfterLiftMaster Opener Logic Board Repair: The Thousand Oaks Owner’s Guide
LiftMaster opener logic board repair in Thousand Oaks typically runs $120 to $320 installed, depending on your model and whether we’re rebuilding the board or swapping in a new one. We keep the most common LiftMaster boards on the truck and can usually diagnose and replace one the same day. The way most homeowners discover this part has failed is a dead wall console, a door that won’t respond to remotes, or an opener that runs the motor but won’t move the door. The logic board is the brain of the opener: it reads the safety sensors, the wall button, the remote signal, and the limit switches, then tells the motor what to do. When it fails, the opener either goes completely silent or starts doing things that don’t make sense.
Servo Garage Doors Thousand Oaks is an independent service provider, not affiliated with LiftMaster. That matters because we’re not steering you toward a new opener when a board replacement is the right fix. We name the part, quote the range, then do the work.
Which LiftMaster Models This Applies To
LiftMaster has used a few different logic board families across its opener lines, and they’re not all interchangeable. The older Security+ 315MHz boards ran in models like the 3850 and 8350. The newer MyQ-enabled boards, with Wi-Fi built in, cover the 8500, 8500W, 8550, 8580, and the wall-mount 8500W jackshaft units that are popular in Thousand Oaks garages with higher ceilings or storage racks. If your opener was installed after roughly 2017, you’re almost certainly looking at a MyQ board.
Here’s the compatibility gotcha we see regularly: a board listed as “LiftMaster 8500 series” may not fit every 8500 variant. The 8500C, 8500W, and the older non-Wi-Fi 8500 use different board revisions with different connector layouts. We match the part by the model number printed on the opener’s side label, not by the series name. The label is usually on the left or right side of the motor housing, and it will show a model number like 8550WLB or 3850-267. If the sticker is faded, we cross-reference the board’s own part number, which is silkscreened directly onto the PCB. On the OEM versus aftermarket question: LiftMaster boards are proprietary, and the third-party “compatible” boards we’ve tested have a noticeably higher failure rate within the first year. We install OEM boards unless a customer asks otherwise, and we’ll show you the failed board before we quote the replacement. That’s Clause 4 of The Haven Standard, and it’s been our rule since 2015.
Signs Your LiftMaster Opener Logic Board Is Failing
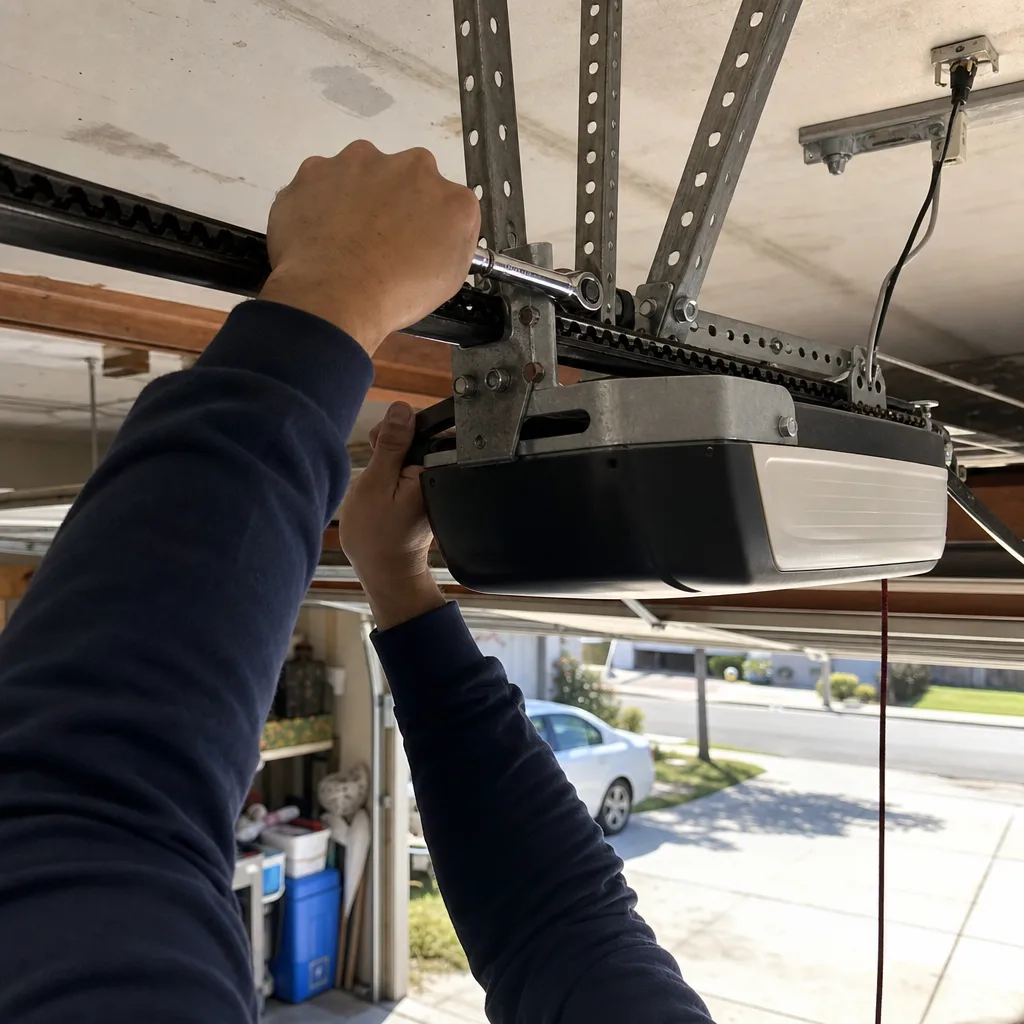
- Opener is completely dead, but the outlet has power. You’ve checked the breaker, plugged a lamp into the same outlet, and the lamp works. That points to the board’s power supply section, which handles the 120V-to-DC conversion. The motor itself rarely fails in a way that produces zero response.
- Remotes don’t work, but the wall button does. The wall console is hardwired to the board; remotes go through a receiver circuit on the same board. When the receiver IC or antenna connection fails, hardwired commands still work while wireless ones don’t.
- Door opens but won’t close, or closes but won’t open. The board interprets the limit switch readings and the safety sensor signal to decide what’s allowed. A failing logic board can misread those inputs. The limit switches themselves may be fine; the board is just ignoring them.
- Opener runs for a second and stops, or hums without moving the door. This can look like a capacitor or gear problem, but on LiftMaster units it’s frequently the board’s motor-control circuit failing to send the right voltage ramp. We test the capacitor first because it’s cheap, then move to the board.
- Erratic behavior after a power outage or brownout. Thousand Oaks gets its share of high-wind events and the occasional Edison rolling outage. Power spikes are the most common cause of premature logic board death we see, especially in neighborhoods north of the 101 where the grid strain is worse during heat waves. A surge that would annoy a television can quietly cook a board’s microcontroller.
BeforeAfterReplacement Cost & What’s Included
In Thousand Oaks, a LiftMaster logic board replacement typically lands between $120 and $320 installed. The spread comes down to the board itself: a Security+ board for a mid-2000s unit runs around $90 to $130, while a MyQ board for a newer 8550 series can run $180 to $240 for the part alone. The rest is labor, which is usually a one-hour job. We quote the full price, parts and labor together, as a flat number before any work starts, and that’s Clause 1 of The Haven Standard. No “call for a quote” games, no hourly billing surprises.
Every board replacement includes the same documentation we’d give you on any repair: a photo of the failed board in place, the written scope of work, and the flat price you approved. When we leave, you get a photo record of the new board installed and the work tested. The 365-Day Done Right Promise covers the repair; if the board fails within the year, we make it right.
DIY or Call Us?
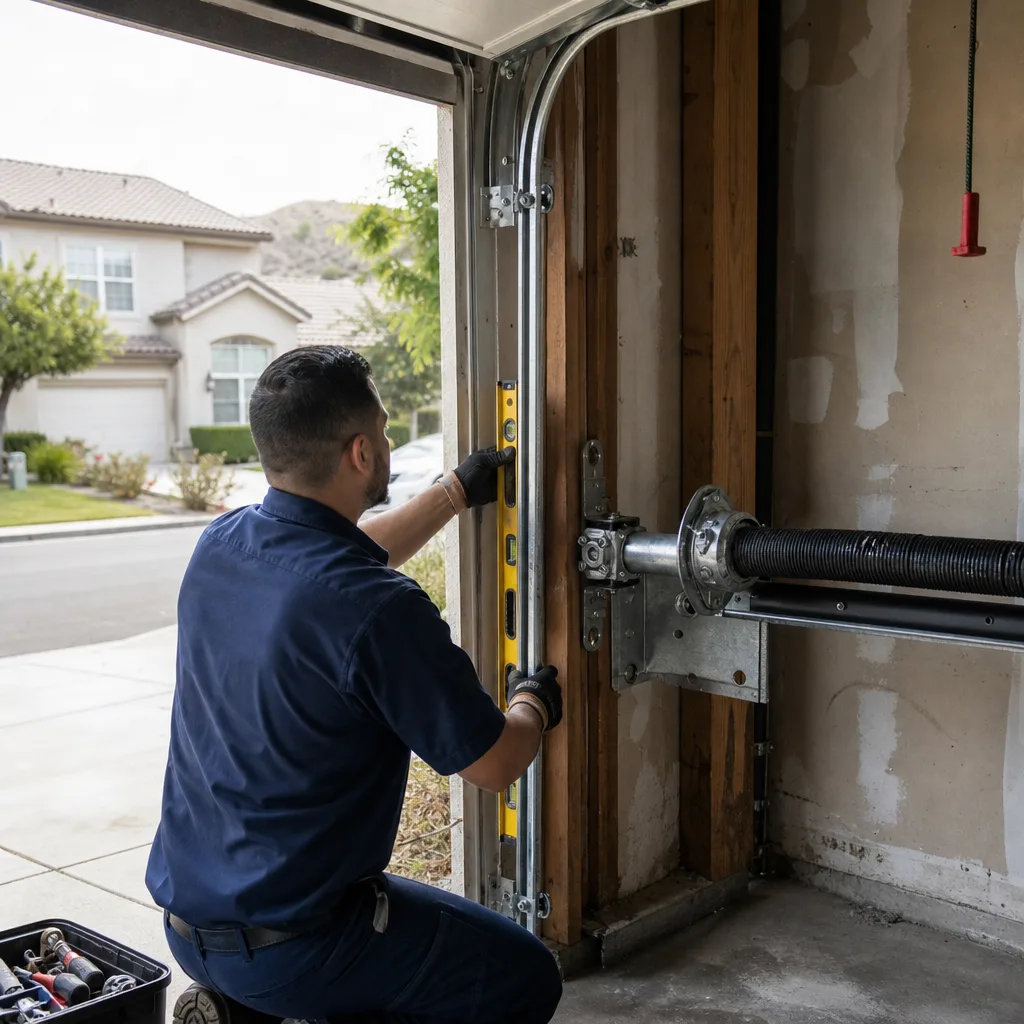
There’s a safe middle ground here. You can check the breaker, confirm the outlet has power, test whether the wall button works when remotes don’t, and verify the safety sensors are aligned. Those diagnostics cost you nothing and they help us narrow the problem before we even arrive. What you shouldn’t do is open the opener housing and start probing the board. The logic board sits inside a unit connected to 120V line voltage, and the capacitor on the board holds a charge even after the opener is unplugged. A charged capacitor will bite. If the board needs a swap, the opener also has to be reprogrammed to redial the travel limits and re-learn the remotes, the keypad, and the MyQ Wi-Fi settings. That’s not a screwdriver job; it’s a setup procedure. If you’ve already opened the housing and the board looks burnt, stop there, unplug the opener, and call us at (424) 395-3203. Marcus Deller has kept a cycle-count chart in his truck since his second year in the trade because it still helps diagnose exactly this failure.
FAQs
A LiftMaster logic board typically lasts 8 to 12 years in Thousand Oaks conditions, with power surges from wind events and summer grid strain being the biggest accelerators of failure. Units protected by a surge suppressor on the opener’s outlet tend to last on the longer end of that range. Call (424) 395-3203 if your opener is over 8 years old and showing erratic behavior; we’ll test the board before recommending anything.
In most cases, no. We can repair a visible broken solder joint or a burnt relay on older boards, but the surface-mount components on modern MyQ boards aren’t designed for component-level repair, and a rebuilt board won’t last. Replacement is the reliable, warrantied fix. We’ll show you the failed board before you approve anything.
The physical swap takes about an hour, but allow up to two hours total because the opener’s travel limits, force settings, remote codes, and MyQ Wi-Fi all need to be reprogrammed after the new board is in. We don’t rush that setup; a door that’s programmed wrong is a call you shouldn’t have to make. Same-day service is available in most of Thousand Oaks.
We carry the most common LiftMaster Security+ and MyQ boards on the truck, covering most 3850, 8350, 8500W, 8550, and 8580 units. If you have a less common revision, we can typically have the correct board within one business day through our parts supplier. When we arrive, we’ll confirm the board number before touching anything, then give you the flat written price.
Need a LiftMaster logic board replaced in Thousand Oaks? Call (424) 395-3203 for a flat, written price before any work starts. We answer live, day or night, and the estimate is free.
Written by Marcus Deller, Owner, Servo Garage Doors Thousand Oaks at Servo Garage Doors Thousand Oaks, serving Thousand Oaks and nearby areas.